ClickHouse
Connect Kubit directly to ClickHouse so it queries your data in place. You create a dedicated user, roles, and database for Kubit, grant read only access to the tables it should see, and allow Kubit's IP ranges. Nothing is copied out of your account.
Steps
1. Create a user
In the SQL Console, create a user named KUBIT. The Kubit team generates and shares a strong password to use here.
CREATE USER KUBIT IDENTIFIED WITH sha256_password BY '*****';
2. Create roles
Create a read role and a write role.
CREATE ROLE OR REPLACE KUBIT_R;
CREATE ROLE OR REPLACE KUBIT_W;
3. Create a database
Create a database named KUBIT_DB. Kubit uses it for small auxiliary tables and views.
CREATE DATABASE KUBIT_DB;
4. Grant permissions
Grant KUBIT_W read and write access to KUBIT_DB so Kubit can create its auxiliary objects.
GRANT SELECT,INSERT,ALTER,CREATE,DROP,TRUNCATE,SHOW,CLUSTER ON KUBIT_DB.* TO KUBIT_W;
Grant KUBIT_R read only (SELECT) access to KUBIT_DB and the tables or views Kubit should query.
GRANT SELECT ON KUBIT_DB TO KUBIT_R;
GRANT SELECT ON table/view TO KUBIT_R;
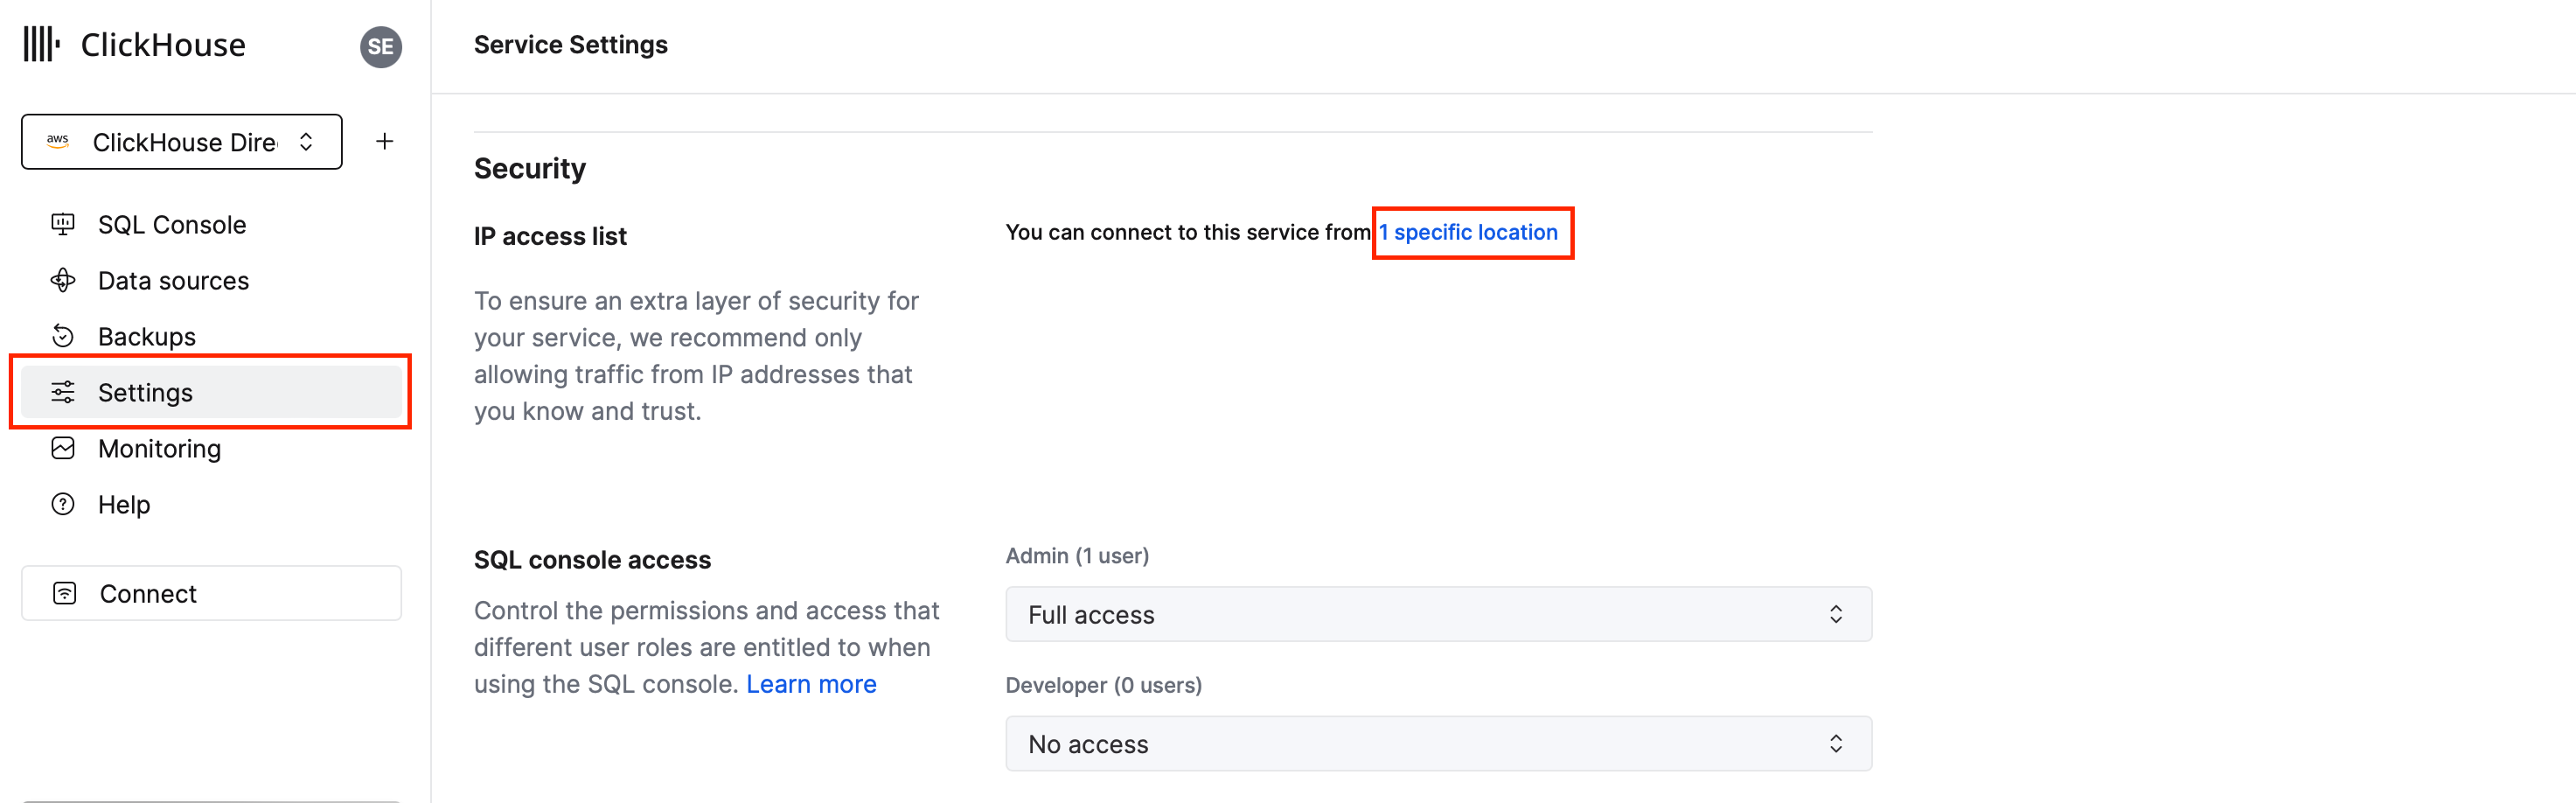
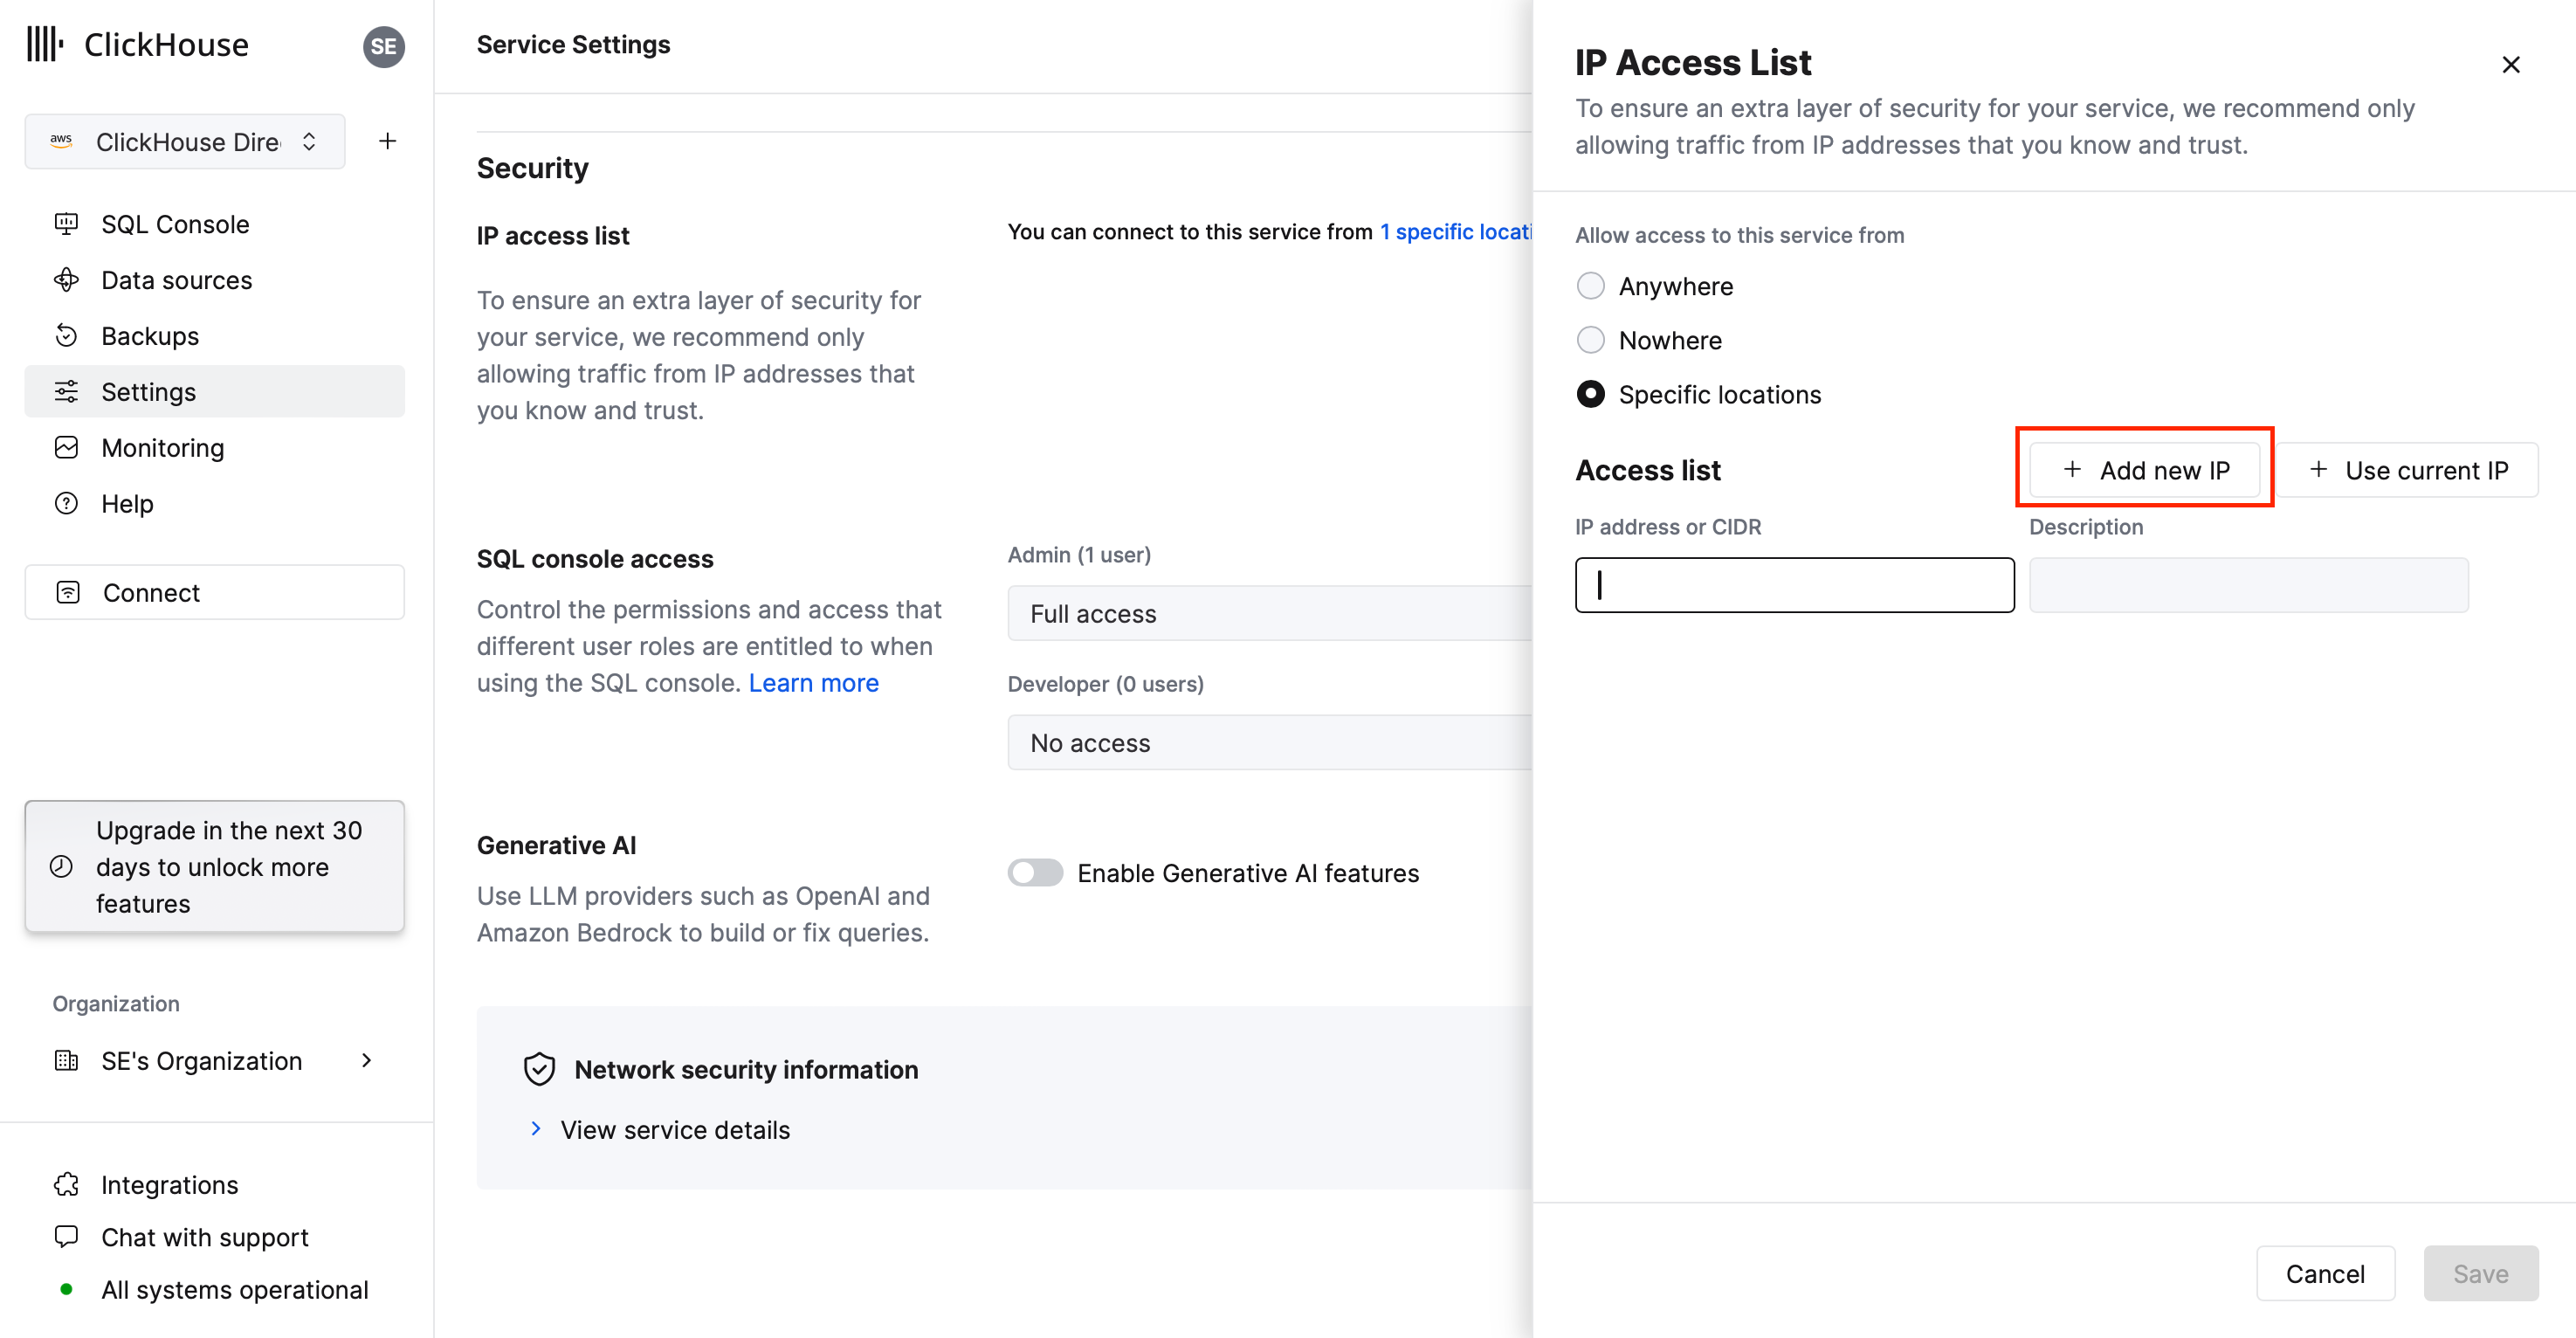
5. Allow Kubit's IP ranges
Add Kubit's IP ranges to your ClickHouse IP filters.
6. Split test and production workloads (optional)
As a best practice, create a second user, roles, and service for development. Isolating development from production avoids accidental impact on live workloads.
Next steps
Understand the model: Warehouse Native
Get the current ranges: IP Whitelist