Sign up
Create your free Kubit account and pick the path that fits — explore example data with zero setup, or integrate your own project in about 5 minutes.
Sign up
If this is your first time accessing Kubit, you need to create an account. Sign up is free, takes less than a minute, and no credit card is required.
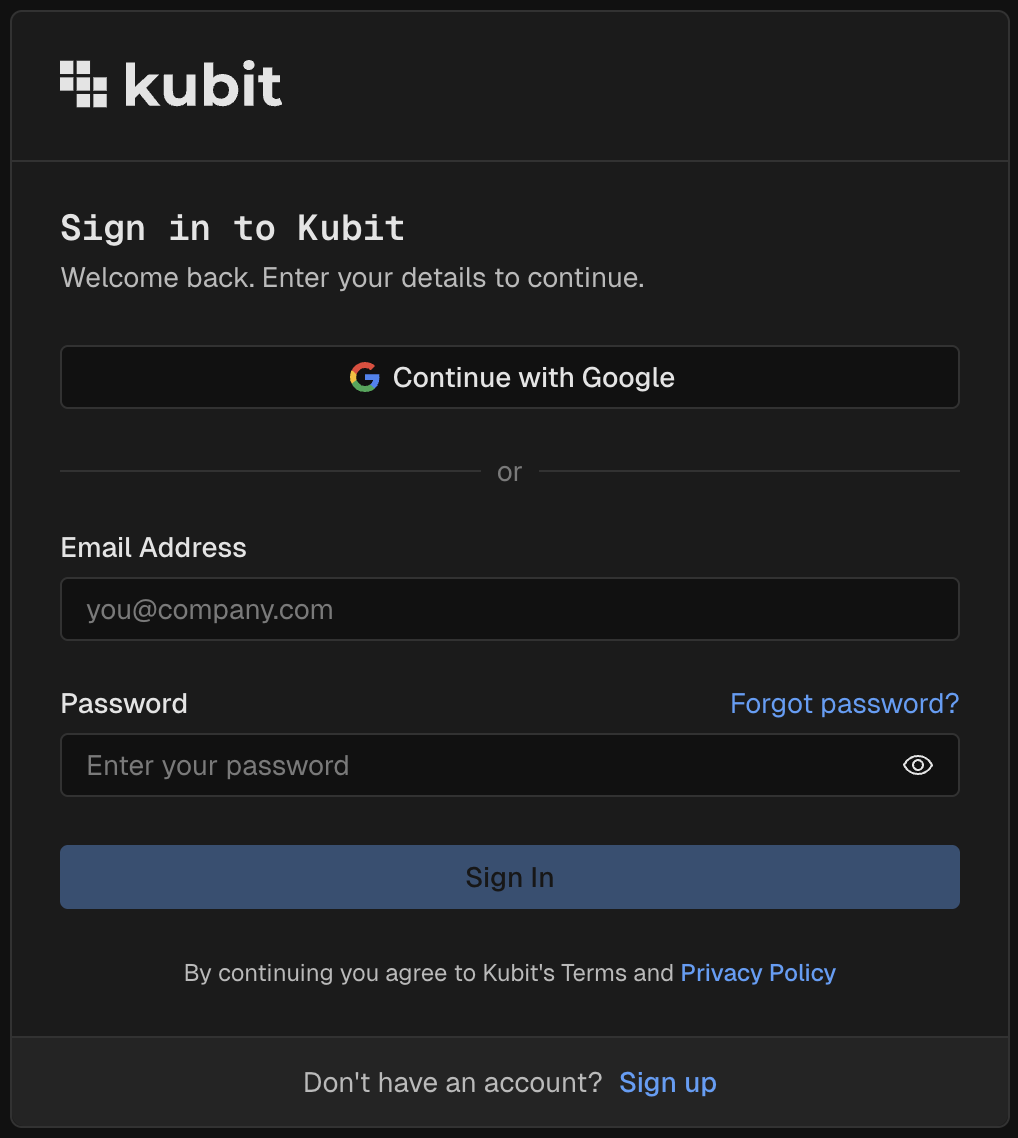
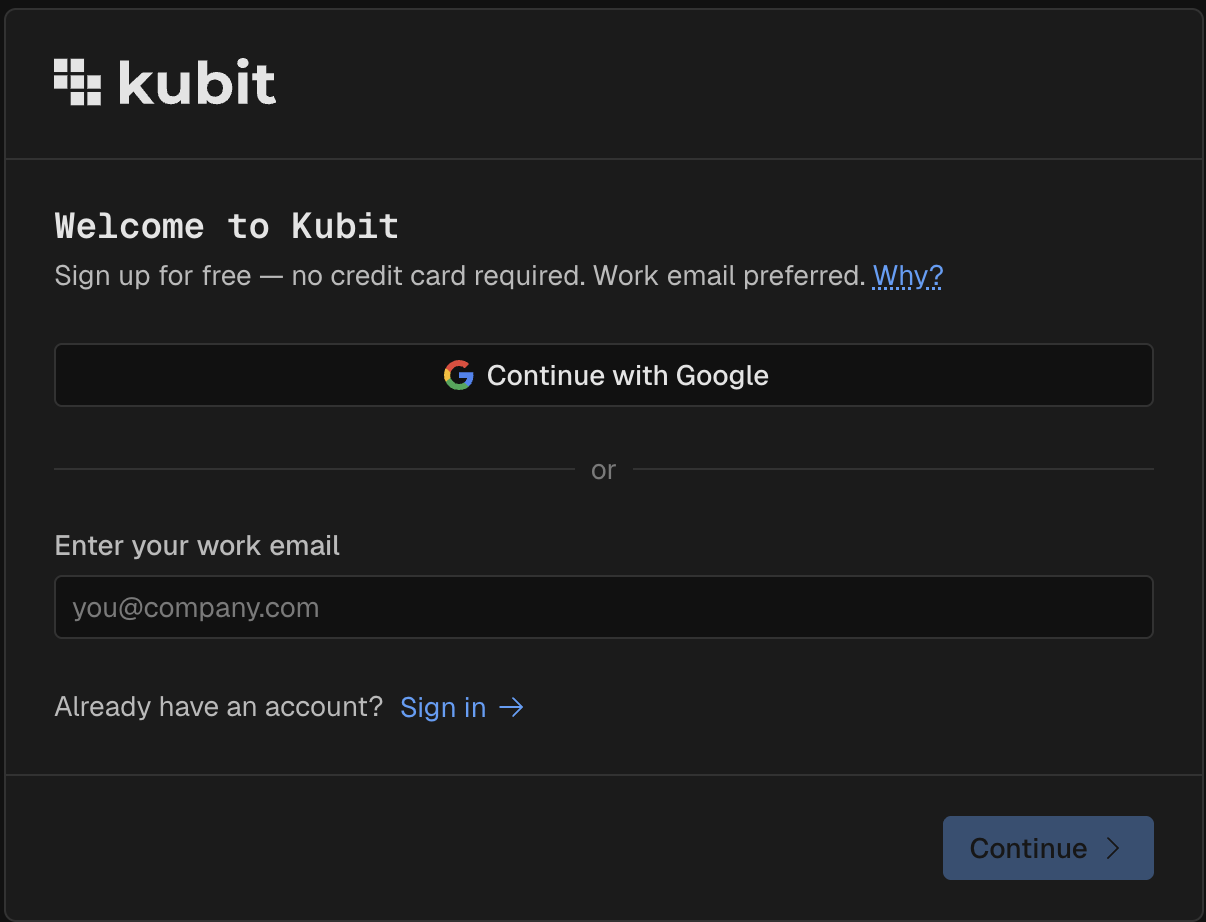
On the login screen, click Sign up at the bottom.
Choose Continue with Google, or enter your email address.
(Recommended) Use your work email — Kubit will auto-enrich your trace data with additional context.
Choose your path
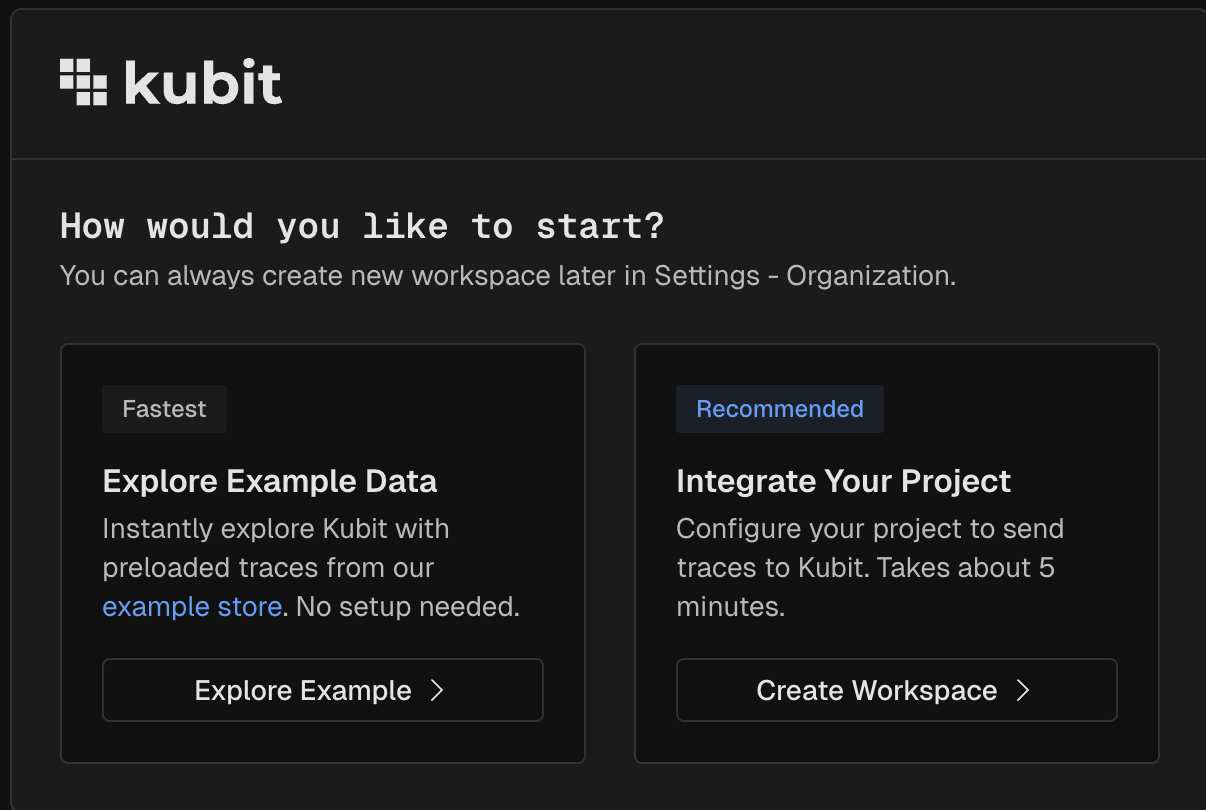
Once you're signed in, Kubit asks how you'd like to start. Pick the path that fits the moment — you can always switch later, so this isn't a one-way door.
Option 1: Explore example data — No setup, no integration. You're in Kubit in under a minute, poking around the pre-built Example workspace and its sample agent traces. Best when you just want to see the product in action and integrate your project later.
Option 2: Set up your own workspace — About 5 minutes. Name your workspace, generate context, copy an API key, install the Kubit plugin in Cursor or Claude Code, and run
/kubit-integrateto start sending real traces from your project.
Option 1: Explore the Example workspace
Pick this path and you land directly in the Example workspace. It ships with a pre-built dashboard powered by trace data from the Atlas Shoe Store — a fictional online storefront we use to show what Kubit captures from a real agent.
Open the default dashboard from the home screen.
Skim the reports — agent activity, errors, sessions, user behavior — to get a feel for what's there.
[Screenshot: Need better data so I can update dashboard template and include snapshot]
Take a deeper tour with Explore the Atlas Demo Store when you're ready.
Option 2: Set up your own workspace
Pick this path when you want to send your own traces into Kubit. Plan on about 5 minutes end-to-end.
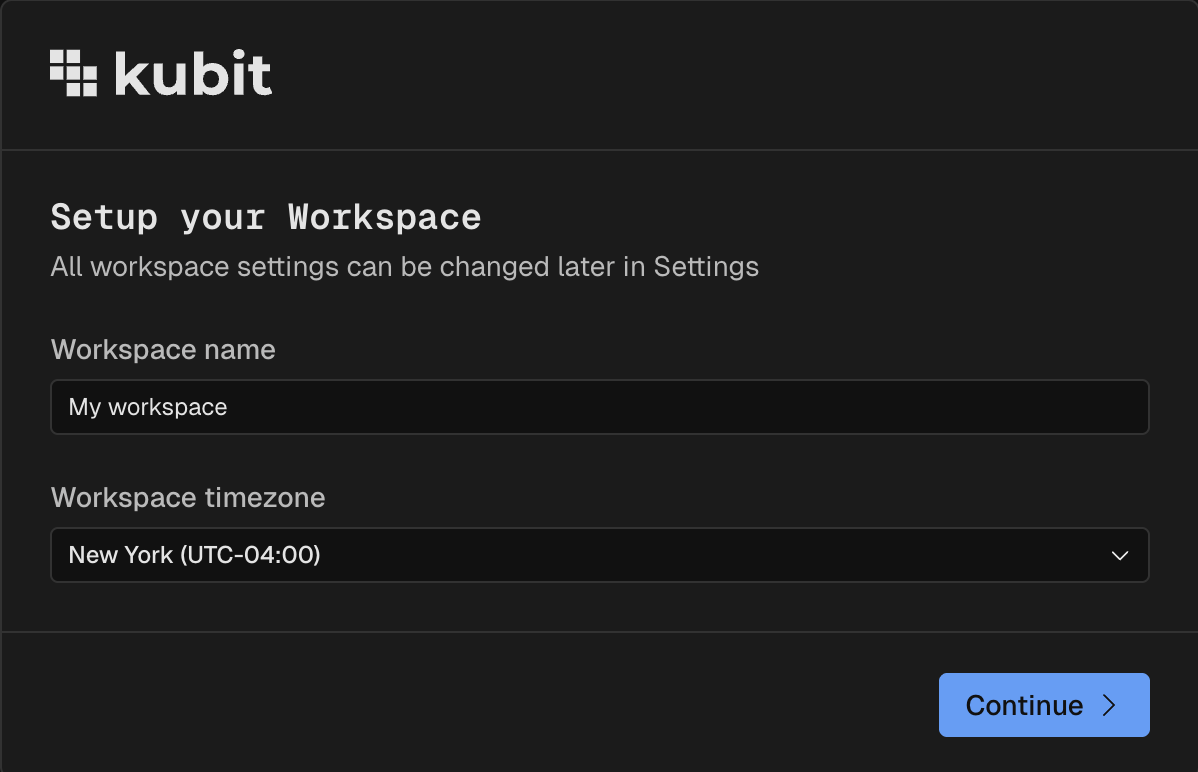
1. Name your workspace
Give the workspace a name and pick a timezone. The timezone controls how dates and times display in reports and dashboards.
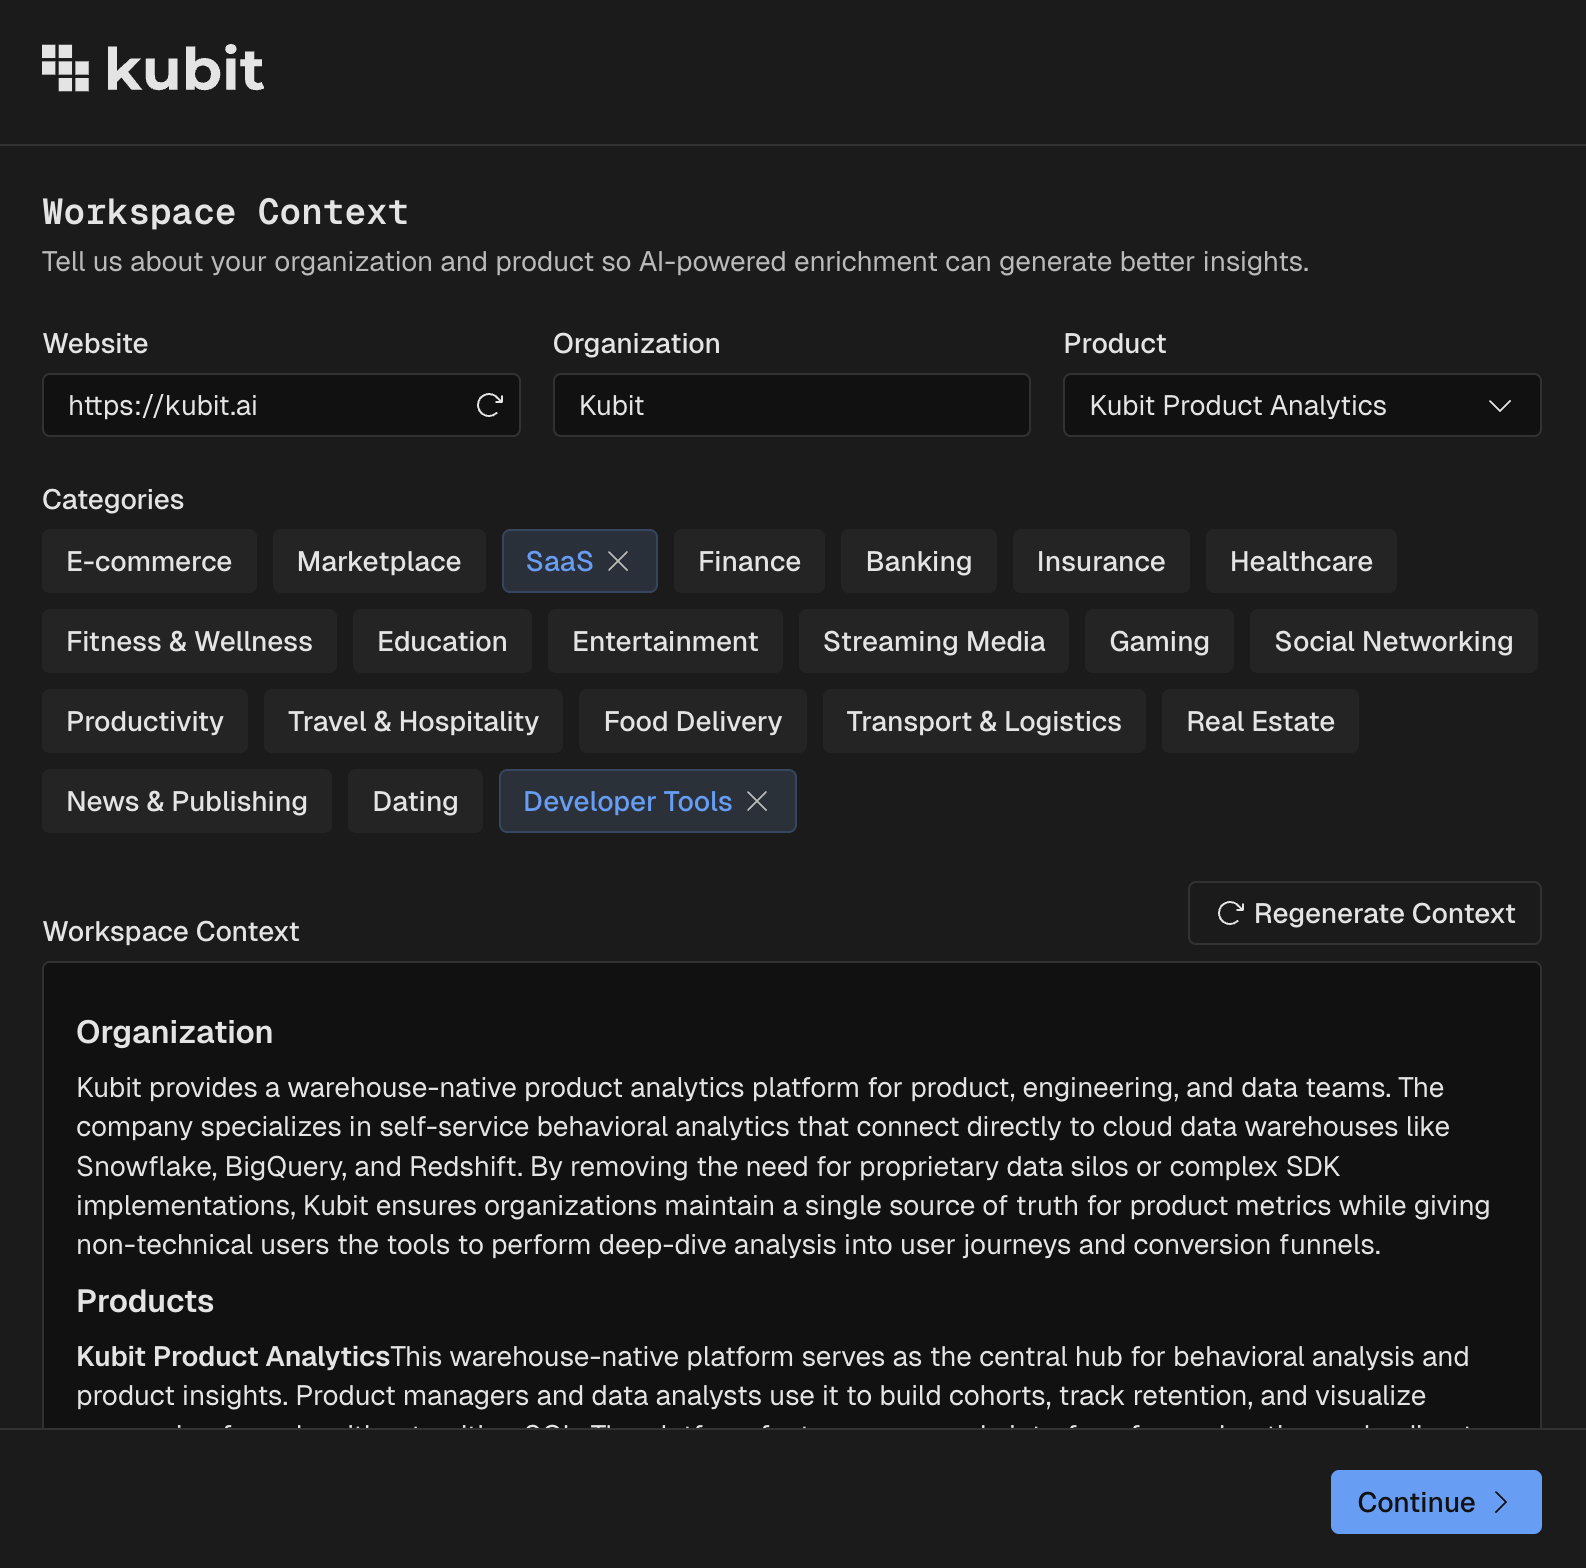
2. Add workspace context
Workspace context — your company, product, and categories — is what Kubit uses to enrich and label the traces it ingests.
If you signed up with a work email, Kubit auto-generates this context for you. Review the fields and edit anything that's off, right inline. You can always update it later under Settings.
If you signed up with a personal email, fill in your website, organization name, product, and any relevant categories, then click Generate context.
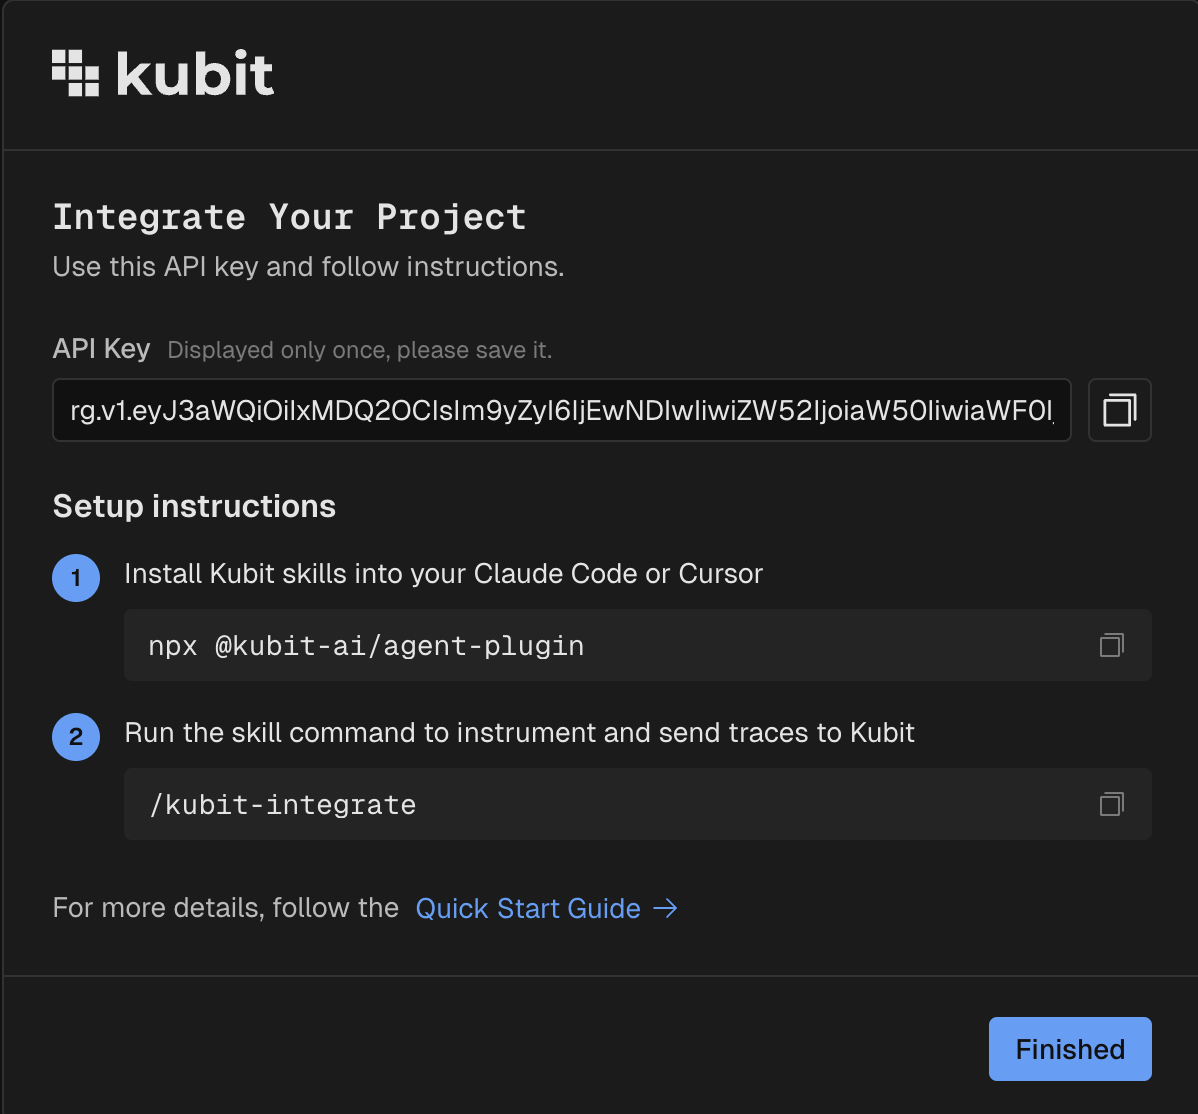
3. Integrate your project
Copy your API key first — it's only displayed once, so save it somewhere safe. Then follow the on-screen setup instructions:
In Cursor or Claude Code, install the Kubit agent-plugin. This installs Kubit's MCP server and the full skill library, including
/kubit-integrate.Run the
/kubit-integrateskill and follow the prompts.The skill detects your framework, wires up OTel, and gets traces flowing into your new workspace in under 5 minutes.
Once your API key is saved, jump ahead to Use Kubit with your own data → Install the Kubit plugin for the complete walk-through. For more on skills and how /kubit-integrate works under the hood, see the Skills section of the docs.
Next steps
Understand orgs and workspaces — a quick orientation to Kubit's structure.